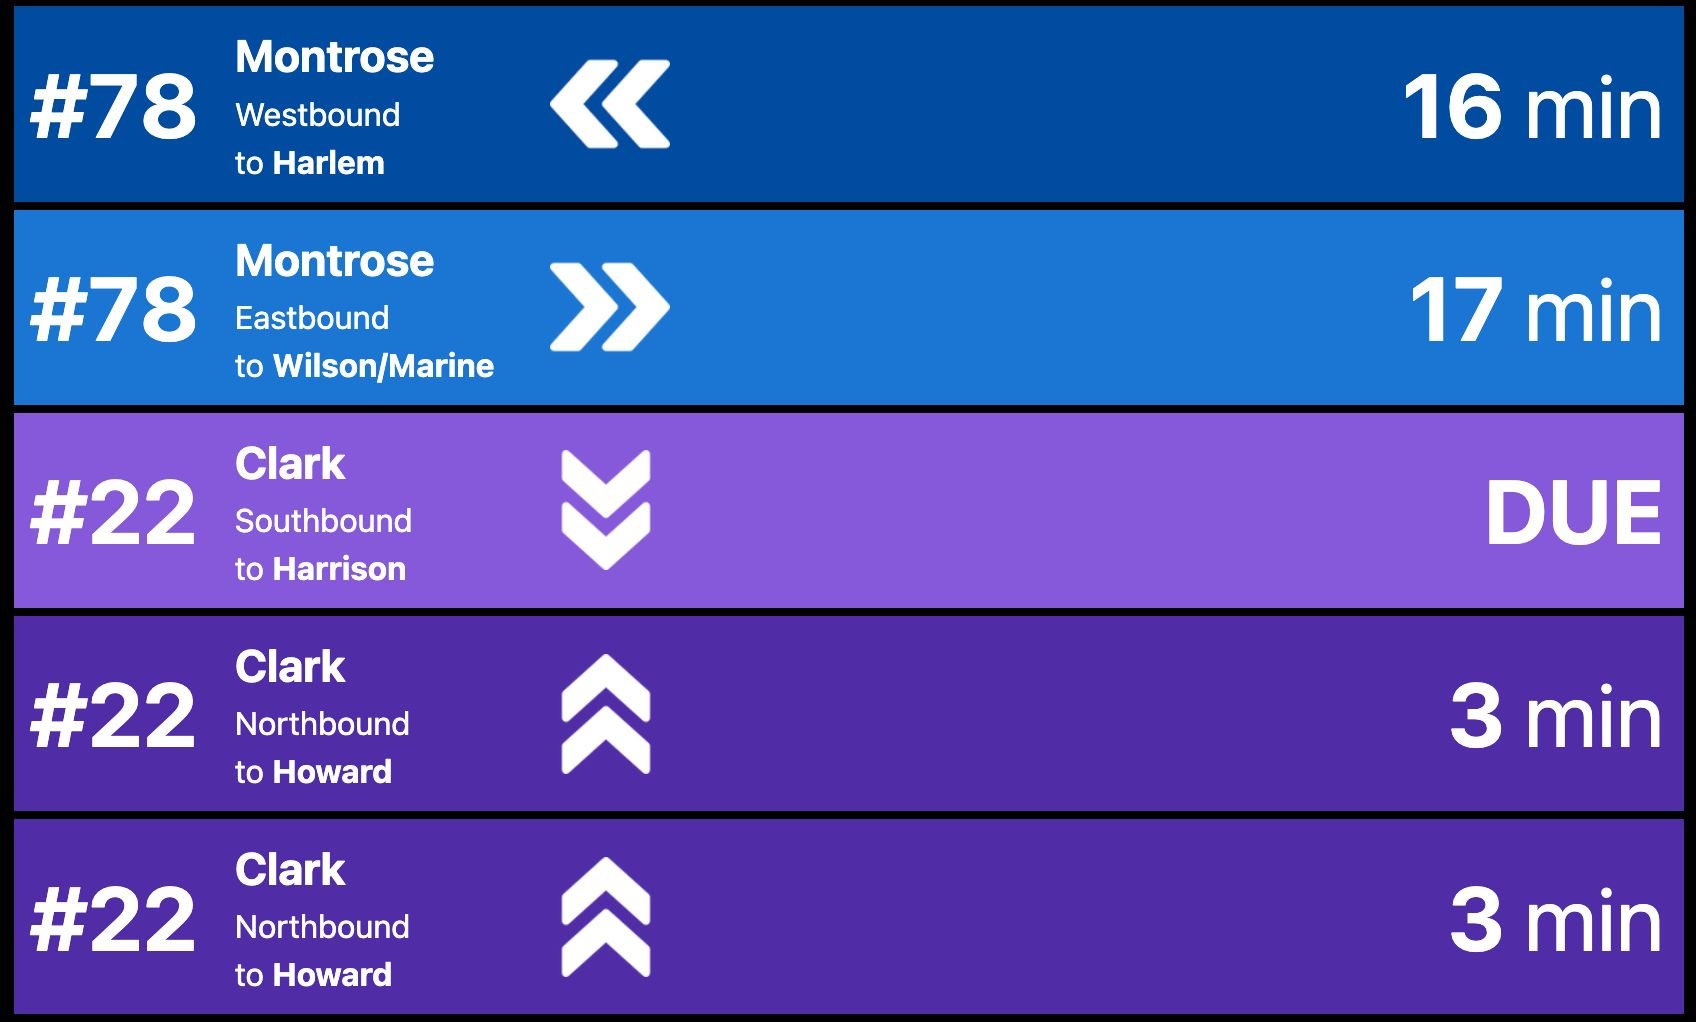
Chicago CTA Bus Tracking Dashboard in React/Gatsby

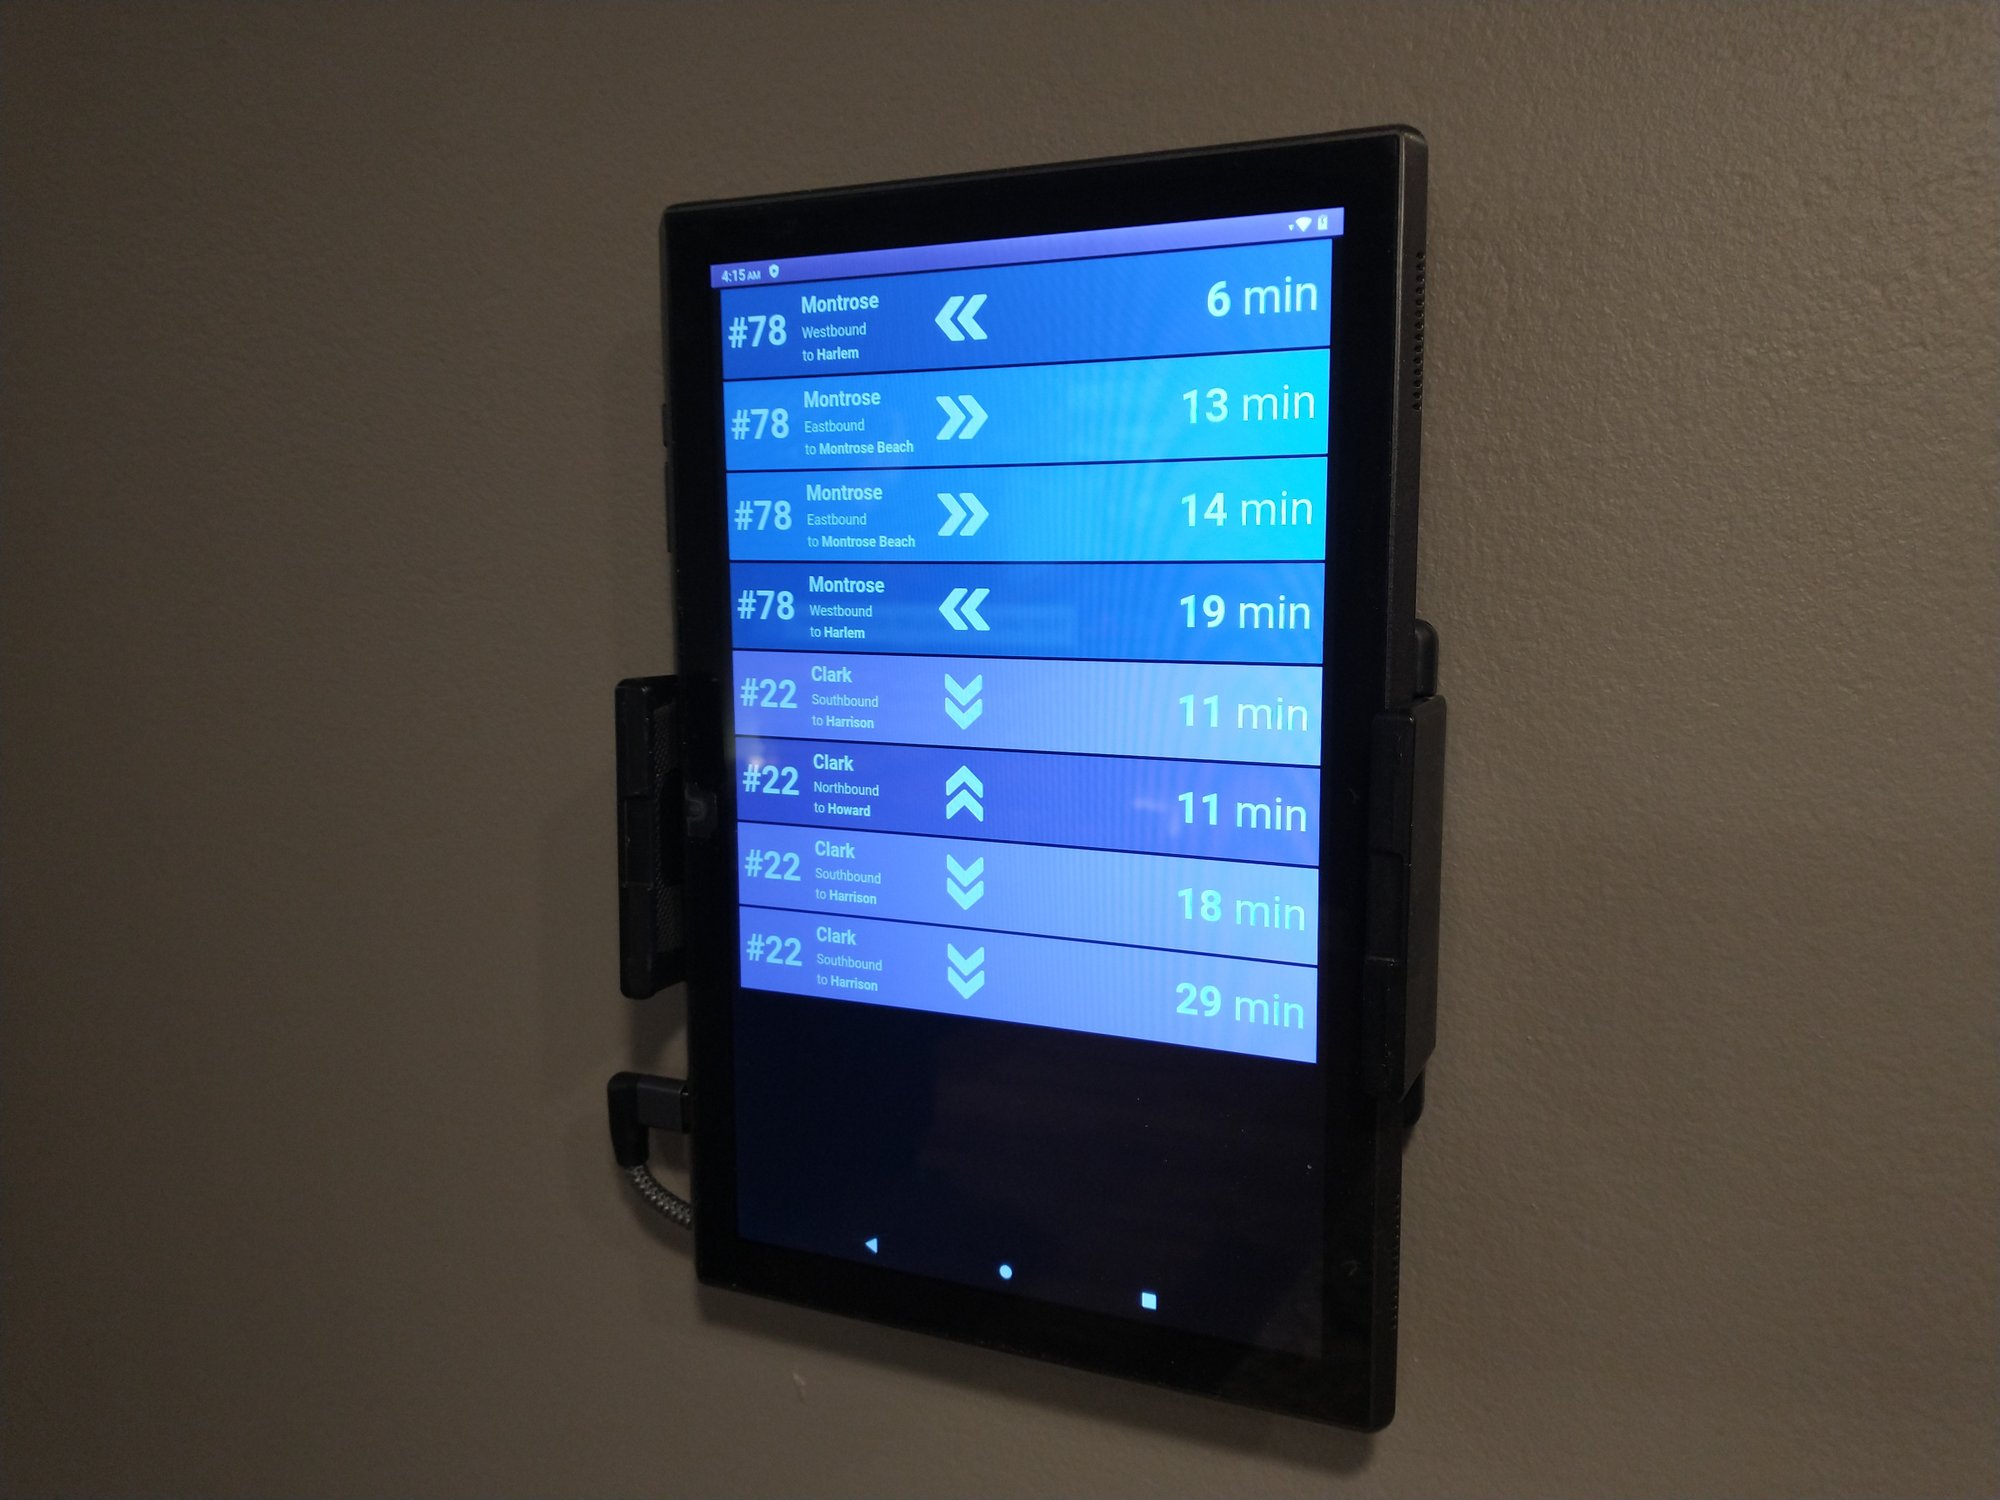
Our apartment came with a weird ipod dock on the wall. This thing looked like it was meant to control some kind of home audio setup but unfortunately it was old, really old, and besides being outdated it was a proprietary Apple connector. One of the first home improvement projects for the new apartment was to rip it out and replace it with something better or cover the hole. When I pulled the dock out I realized we had lucked out and that there was a PoE (Power over Ethernet) cable that would let me power a tablet/screen for a display panel. Since Google Home has long since made all my home automation scripts obsolete the best thing I could think to display was the approaching buses near our apartment.

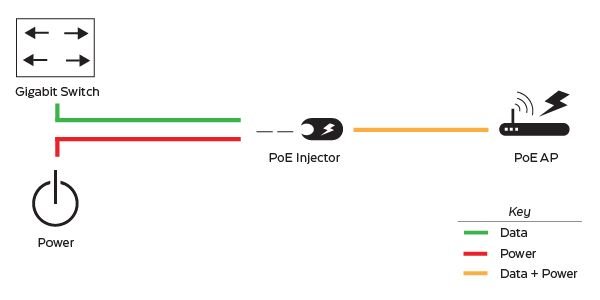
PoE is super useful for things like this. It's usually used to provide internet and power to IoT devices that need both using a single cord and the different types of PoE and options can get confusing but luckily this is as about a basic use case as can be. The power isn't running through the cord from the router/switch by default though, it needs a PoE injector which pushes the current through. Whoever setup the audio setup thought this through and the other end of the PoE cord comes out of the wall next to a power outlet.

For the first version I hooked up the display with the Raspberry Pi Touch Screen and a B+. This worked once it was setup and had a few advantages over a tablet like being able to host the webapp locally but unfortunately the screen wasn't wide enough to cover the hole of the original dock. The second iteration was the cheapest tablet money could buy pointing at a static Amplify site, for long term safety reasons I'm going to swap this back out with the 10.1" Raspberry Pi Touchscreen since it doesn't have any batteries in it that can fail.
Getting an API Key
Chicago offers two distinct APIs for tracking public transportation. There's an API for tracking busses and one for tracking trains. They're very similiar but have slight differences and you can tell they were made at different times most likely by different people/teams. For example capitalization of endpoints, etc., they also require two separate requests for access. The key to query the bus API won't work for train data the train key won't work for buses.
For this project I'm just tracking the busses so I only need the bus key but the code is easily adapted to the train API. The process of getting access is easy but can take a week or two to get the key from the Chicago Transit Authority as they directly email them to you. Register and make a request for a key on transitchicago.com.
Python Lambda Endpoint - Fetch Buses
Serverless React/Gatsby is a great choice for keeping the monthly hosting cost
essentially zero but there's one issue. The bus API key shouldn't get
published to the frontend application. So to make the requests to the CTA API
I'm using a python AWS Lambda function. It takes the routes and stops and
handles making an authenticated request to the API and returns the response to
the app. Lambda lets you configure environment variables in the config
settings. For node apps these are passed into the app
with process.env for python apps you import the os
module and find them in the os.environ array. This
lambda endpoint expects a CTA_BUS_KEY variable set with
the CTA key.
import os
import urllib.request

busApi = "http://www.ctabustracker.com/bustime/api/v2/"
busKey = os.environ['CTA_BUS_KEY']

def lambda_handler(event, context):
    global busApi, busKey

    response = {}
    contents = ""

    try:
        route = event['queryStringParameters']['route']
        stops = event['queryStringParameters']['stops']

        url = busApi + "getpredictions?key=" + busKey + "&rt=" + route
        url = url + "&stpid=" + stops + "&format=json"

        with urllib.request.urlopen(url) as response:
            contents = response.read()

    except Exception as e:
        response = {
            'statusCode': 200,
            'body': 'Unable to find results.'
        }

    response = {
        'statusCode': 200,
        'body': contents
    }

    return response
Making the Panel React/Gatsby
Gatsby will run on Amplify for essentially no money. Even with the lambda scripts triggering 4 times a minute the total hosting cost for this project is going to be south of $2/month. Using Amplify to host a web project is as easy as connecting the repository and adding an Amplify configuration file into the repository root.
# amplify.yml
version: 0.1
frontend:
  phases:
    preBuild:
      commands:
        - nvm install 14 && nvm
        - nvm use 14
        - cd gatsby
        - npm i --global gatsby-cli
        - npm --save --no-optional install
    build:
      commands:
        - gatsby build
  artifacts:
    baseDirectory: gatsby/public
    files:
      - '**/*'
  customHeaders:
    - pattern: '**/*'
      headers:
      - key: 'X-Frame-Options'
        value: 'DENY'
    - pattern: '**/*'
      headers:
      - key: 'X-Content-Type-Options'
        value: 'nosniff'
    - pattern: '**/*'
      headers:
      - key: 'Strict-Transport-Security'
        value: 'max-age=31536000;'
  cache:
    paths:
      - node_modules/**/*
Customizing the interface.
Picking colors is the hardest part of any project because I have no design sense. Luckily, Google released a color picker that helps identify dark to light values for a given color.

Full project and code is on Github.